After setting up your Meta Lead Ads integration in Engage, you'll want to test that your setup works as expected. You can use Facebook’s built-in Lead Ads Testing Tool to create test submissions that simulate a real lead. This is especially useful before running a live campaign.
How to test
Before you begin, make sure that:
- Your Facebook Page and Lead Form are already created
- The Meta Lead Ads integration is active in Engage
- You've selected the correct Page and Form in the integration setup
- Your Facebook user has the right permissions
1. Open the testing tool
Visit the Lead Ads Testing Tool from Meta, here: Link to Meta testing form
2. Select your Facebook Page and Lead Form
From the dropdowns:
- Choose the Facebook Page running your lead ad
- Select the form you want to test
Don’t see your form listed? Ensure it's published and attached to the selected Page.
3. Create a test lead
Click Create Lead to simulate a new lead submission.
This lead will not appear in your Ads Manager or Page Inbox, only through the API integration.
4. Verify the lead in Engage
Once created, go back to Voyado Engage to verify the lead exists. You can do this in two ways:
- Searching directly for the contact in Engage
- Or looking for them via segmentations using either:
- customSource: [[name of form]]
- source: Facebook
5. Troubleshooting
If the lead doesn’t appear:
- Ensure your Facebook user has Leads Access to the Page
- Recheck that the correct Page and Form are selected in Engage
- Check if the lead was already created; duplicate test submissions might be ignored if your form doesn’t allow them
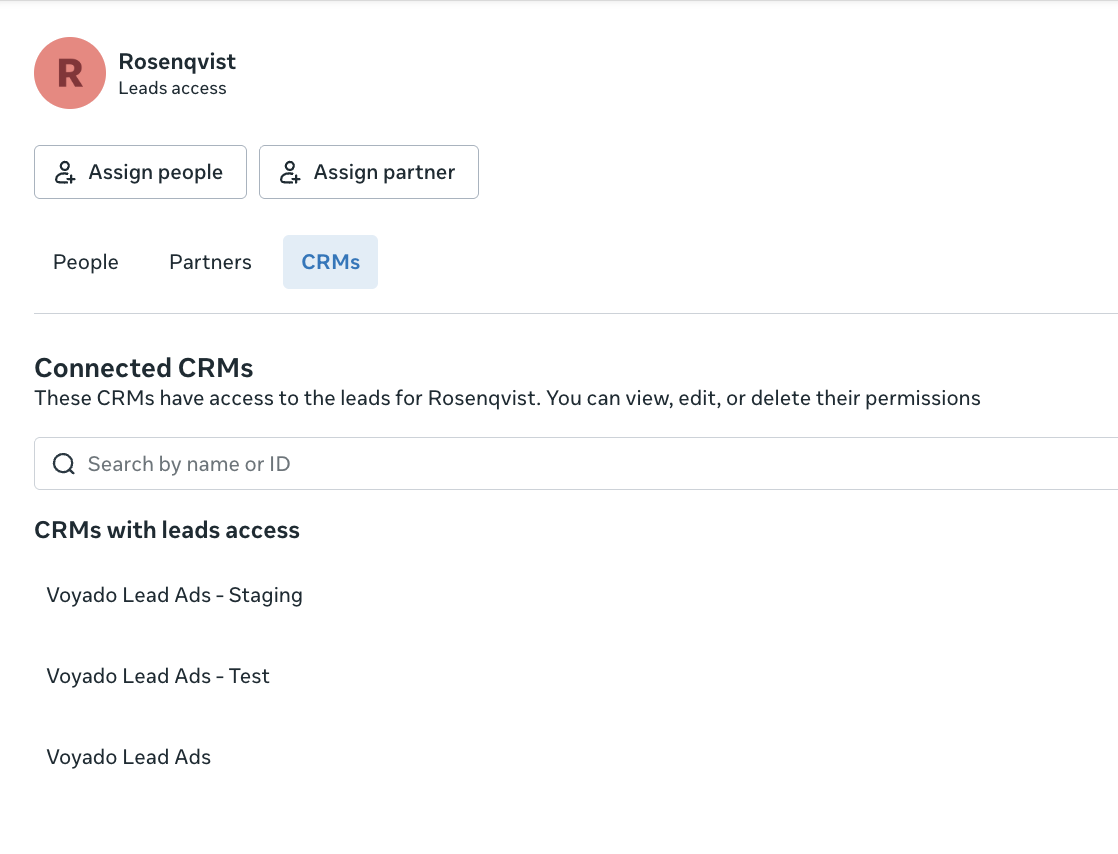
- Head into business.facebook.com -> Settings -> Integration -> Lead ads -> CRM and make sure "Voyado Lead Ads app" is selected:
To remove test data, delete the test contact directly in Engage after verification.
Testing the integration
Article last reviewed
Comments
0 comments
Please sign in to leave a comment.